First things first
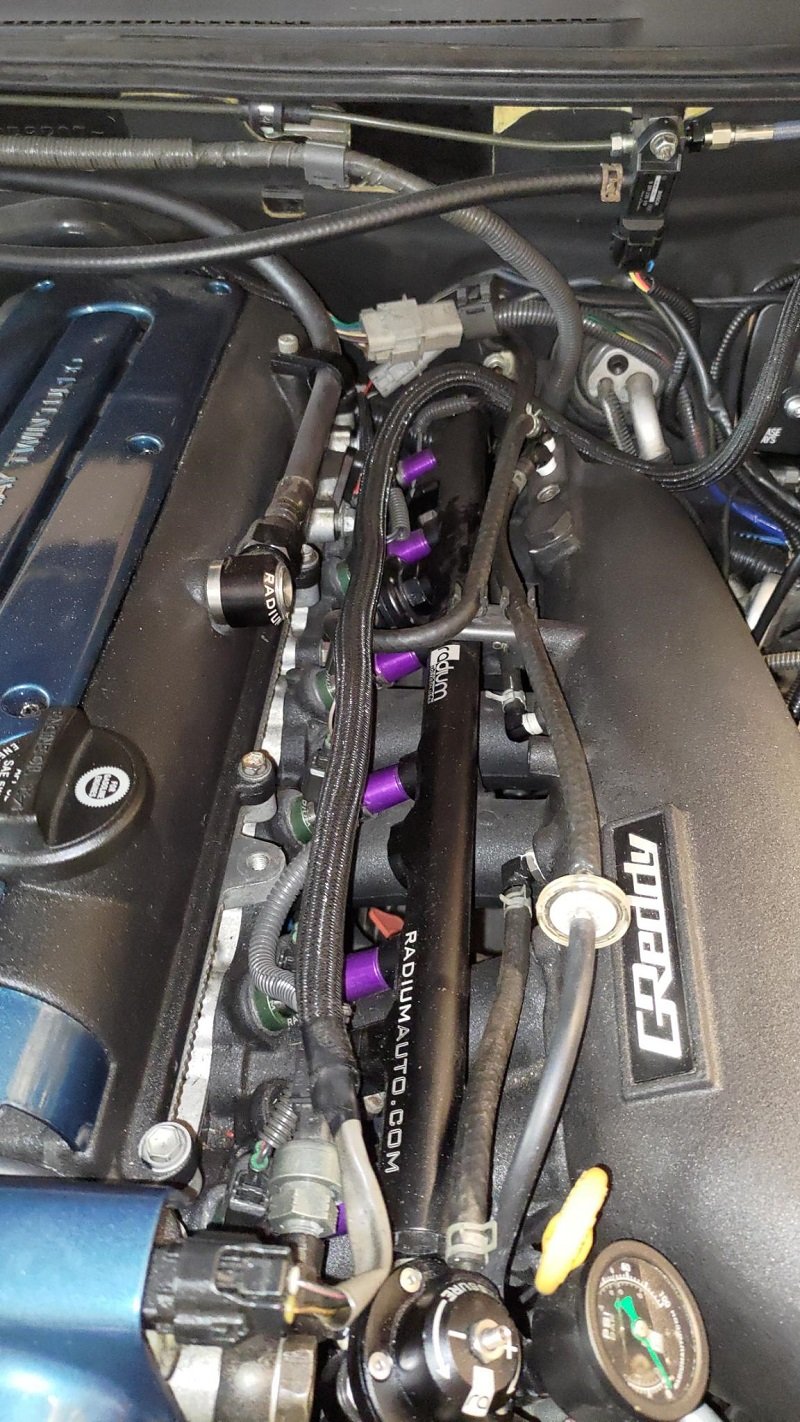
Wire Routing & Splicing Best Practices
If you're wiring in something like a radio or car alarm, butt connectors will be ok.
But if you're building your first engine wire harness, you'll need to pay close attention to:
- How tight your wires are
- How neat they are routed around objects
And if you're splicing into a wire, NEVER EVER use vampire taps (aka quick lock splices).
Key routing checks to ask yourself:
- Are the wires near something sharp? Could they bounce and rub something?
- Even if you secure them with a zip tie, that could be better than nothing.
- Are they near something hot?
DEI makes some heat shield/sheath that I've used to protect wires around turbo or exhaust pipes.
• No sharp edges or pinch points — protect or reroute
• Secure every few inches with zip ties or loom clamps
• Heat protection near exhaust/turbo (DEI sheath recommended)
• Engine harnesses: Prioritize neat bundles, tight routing, and proper splices (no vampire taps!)
A few extra minutes here prevents melted insulation, shorts, or failures down the road.
AstroAI Digital Multimeter and Analyzer TRMS 6000 Counts Volt Meter Ohmmeter Auto-Ranging Tester; Accurately Measures Voltage Current Resistance Diodes Continuity Duty-Cycle Capacitance Temperature
Buy on Amazon As an Amazon Associate I earn from qualifying purchases
3M Scotch Super 33+ Vinyl Electrical Tape, .75-Inch by 66-Feet
Buy on Amazon As an Amazon Associate I earn from qualifying purchases
400 Pcs Heat Shrink Tubing Kit-3:1 Ratio Adhesive Lined,Marine Grade Shrink Wrap - Industrial Heat-Shrink Tubing - Black
Buy on Amazon As an Amazon Associate I earn from qualifying purchases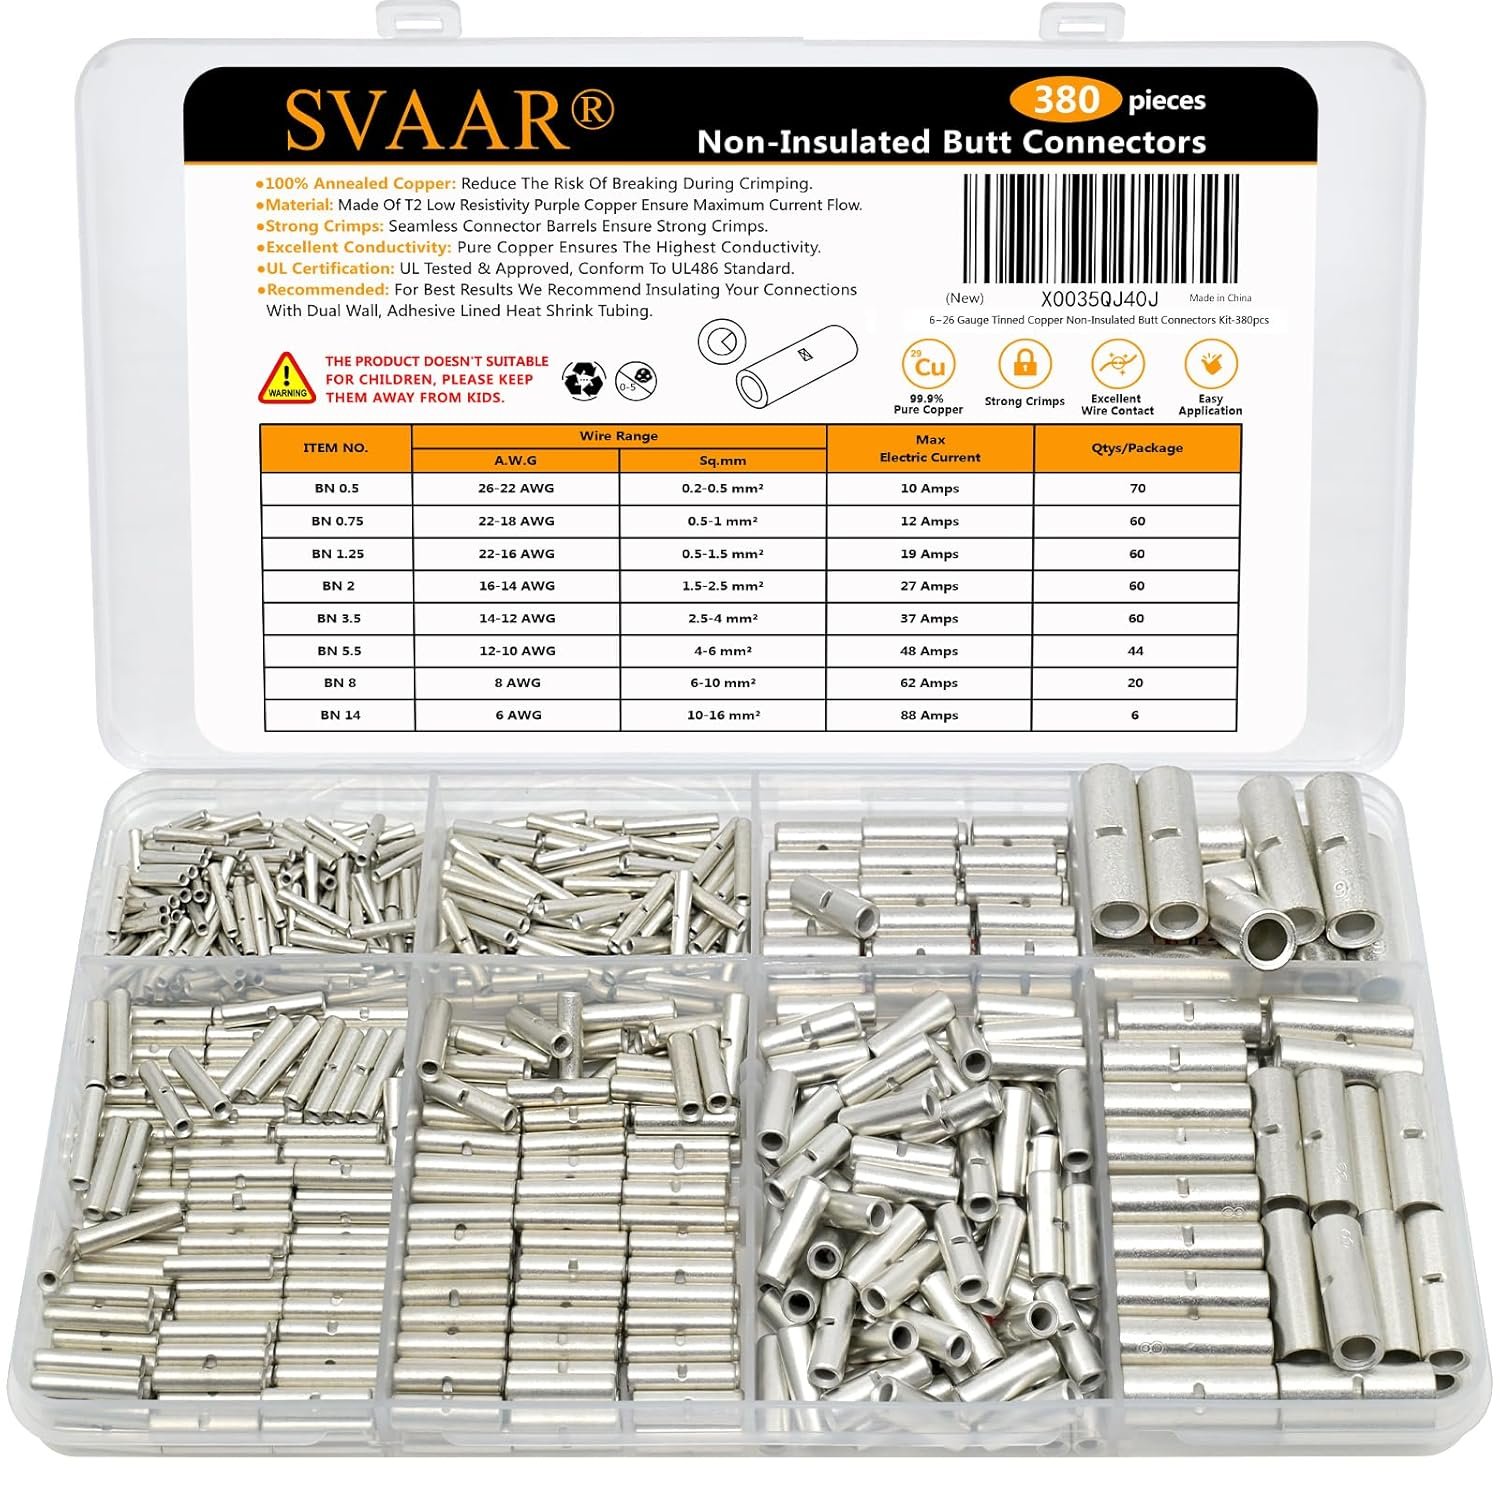
SVAAR 380PCS Non Insulated Butt Connectors Kit Butt Splice Connector Uninsulated Wire Splice Connectors for 26 to 6 Gauge Wire Marine Grade Tinned Copper Seamless Barrel Crimp Butt Splice Terminals
Buy on Amazon As an Amazon Associate I earn from qualifying purchases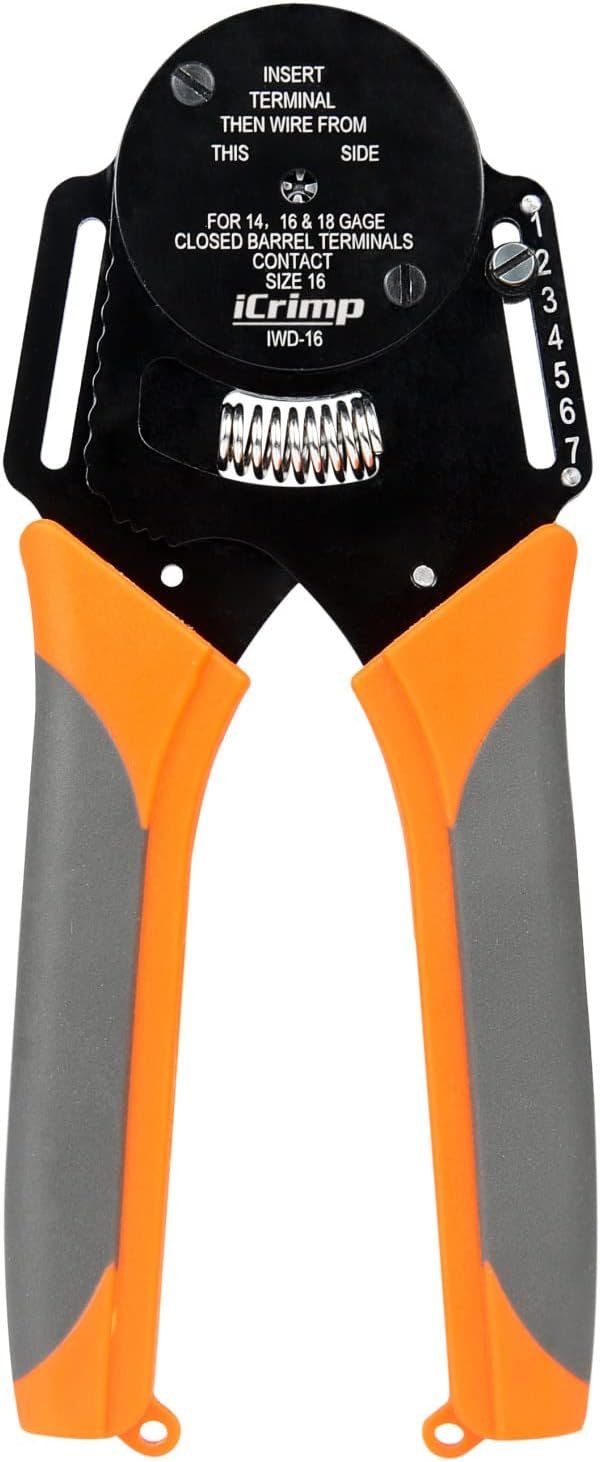
iCrimp Closed Barrel Crimper 4 Way Indent,8 Impression Type for Deutsch Solid Contacts gage 14,16&18(IWD-16)
Buy on Amazon As an Amazon Associate I earn from qualifying purchases
AstroAI Digital Multimeter and Analyzer TRMS 6000 Counts Volt Meter Ohmmeter Auto-Ranging Tester; Accurately Measures Voltage Current Resistance Diodes Continuity Duty-Cycle Capacitance Temperature
Buy on Amazon As an Amazon Associate I earn from qualifying purchases
3M Scotch Super 33+ Vinyl Electrical Tape, .75-Inch by 66-Feet
Buy on Amazon As an Amazon Associate I earn from qualifying purchases
400 Pcs Heat Shrink Tubing Kit-3:1 Ratio Adhesive Lined,Marine Grade Shrink Wrap - Industrial Heat-Shrink Tubing - Black
Buy on Amazon As an Amazon Associate I earn from qualifying purchases
SVAAR 380PCS Non Insulated Butt Connectors Kit Butt Splice Connector Uninsulated Wire Splice Connectors for 26 to 6 Gauge Wire Marine Grade Tinned Copper Seamless Barrel Crimp Butt Splice Terminals
Buy on Amazon As an Amazon Associate I earn from qualifying purchases
iCrimp Closed Barrel Crimper 4 Way Indent,8 Impression Type for Deutsch Solid Contacts gage 14,16&18(IWD-16)
Buy on Amazon As an Amazon Associate I earn from qualifying purchasesCrimping vs. Soldering for Engine Harnesses
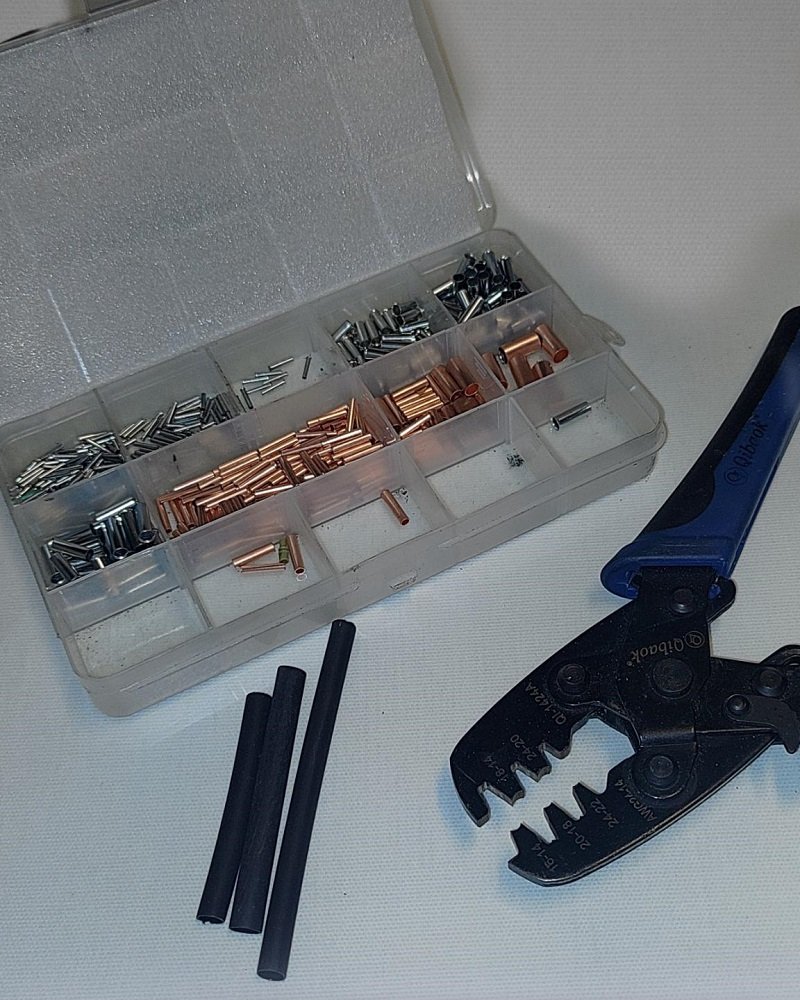
Get a set of barrel crimpers with barrels and some heatshrink — it's faster and safer than soldering.
A lot of guys frown on soldering, saying it makes brittle connections (which it does).
But if your solder joints are heat-shrunk sealed and aren't in an area where they'll bend, it'll be perfectly fine.
I've soldered engine harnesses that lasted 10+ years.
The big downside is inhaling the tin/solder fumes and the health risks associated with breathing in those fumes over a long period of time.
• Crimping: Faster, no fumes, more flexible joints, industry-preferred for automotive
• Soldering: Can be reliable long-term if sealed & strain-relieved, but health risk from fumes
• Recommendation: Go crimping + heatshrink for most builds — safer lungs, quicker work, less brittleness risk
If soldering, always use good ventilation and seal every joint fully.
Wire Gauge, Amp Rating, and Why It Matters
The easiest way that I've come to understand this is that electrical devices don't "think" about the energy they are able to use — they just pull once they're connected.
This "pulling" can be damaging if the wire is too small. The wire can't handle the demand that's being placed on it, but it tries anyway. This creates heat, and potentially melts wires too small for a device.
This is why most vacuum cleaner wires get warm.
Heat is what blows a fuse — the fuse should be the weakest link in your wire setup.
Simply put:
- An "amp rating" is what the wire can handle safely
- The term "amp draw" is what a device will try to pull when it's connected to the voltage it requires
Devices have amp ratings that show their amp draw. Look up amperage charts for the voltage you'll be using, and wire your project appropriately!
• Device amp draw → choose wire with higher amp rating than draw
• Wire amp rating → select fuse rated slightly below wire's safe capacity (fuse = weakest link)
• Too-small wire + high draw = heat buildup → melting insulation or fire risk
• Always reference AWG ampacity charts (e.g., for 12V automotive systems) and add margin for safety
Fuse early, fuse right — protects the wire, not just the device.
Wire Gauge Recommendations & Material Notes
- Not all wires are copper — some are CCA (Copper Clad Aluminum), and some are just aluminum.
OFC (Oxygen Free Copper) is best. CCA and Aluminum need to be a larger gauge for the same amp rating. - Small wires (20-22 AWG) are great for triggering relays and some small sensors.
- Medium wires (18-20 AWG) are great for sensors, small solenoids, boost valves, etc.
- Larger wires (12-16 AWG) are great for fuel pumps, ignition coils, cooling fans, etc.
- Heavier wires (8-10 AWG) are generally used for power feed.
- Total amp draw should be calculated for each device behind a fuse, and I usually add around 25%.
So I'll wire a fuel pump that draws 30A on at least a 40A fuse. - Trigger sensors and speed sensors generally should be shielded.
- If you're wiring fuel pumps in a gas tank, use PTFE-coated wire since it resists gasoline better.
• 20–22 AWG: Relays, low-current sensors
• 18–20 AWG: Sensors, solenoids, boost control
• 12–16 AWG: Pumps, coils, fans (medium loads)
• 8–10 AWG: Main power feeds
• Always oversize fuse ~25% above calculated draw
• Shielded for sensitive signals (triggers/speed)
• PTFE for in-tank fuel pumps (gas-resistant)
Prioritize OFC copper when possible — upgrade gauge if using CCA/Aluminum.
Relays! — Why They're Amazing & Basic Setup
Relays are absolutely amazing — there are quite a few cool things you can do with them, and I have that stuff on my relay page here.
The primary use is to place the relay near your device that needs large wires (fuel pump, fog lights, fan, etc.), and run just 1 small gauge wire to trigger the relay on.
This saves money and space with small wiring running to your button/switch in the interior.
On a Haltech (or similar ECU), a common setup is:
- Connect relay pin 85 to an open DPO wire (from ECU)
- Connect pin 86 to ignition switched power
- Pin 30 = fused power source (from battery or fused distribution)
- Pin 87 = output to the device (fuel pump, fog lights, fan, etc.)
5-pin relays can be used in place of 4-pin relays with no change to wiring (just ignore pin 87a if not needed).
There are other cool wiring methods to do some creative things with relays that I discuss here.
• 85 → trigger ground/signal (small wire from switch/ECU DPO)
• 86 → +12V ignition-switched (or constant, depending on use)
• 30 → fused +12V power in (heavy gauge from battery/source)
• 87 → output to load (heavy gauge to pump/fan/lights)
• 87a (5-pin only) → normally closed output (optional)
Place relay close to the high-current device → run only thin trigger wire to cabin = cleaner, cheaper, safer install.
